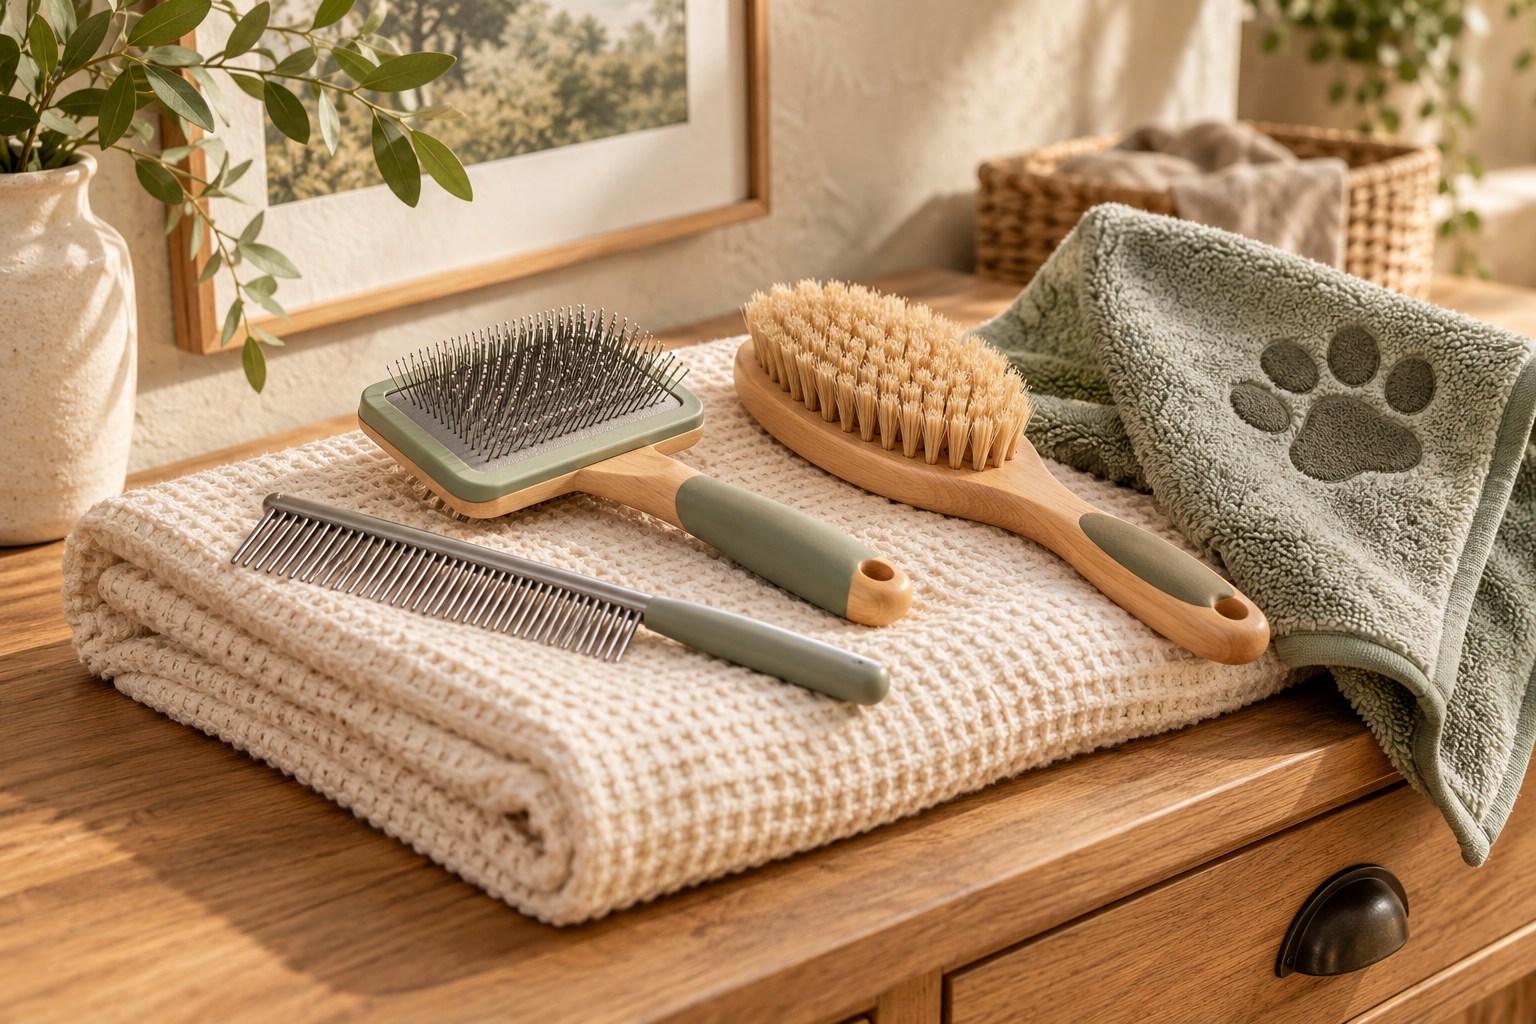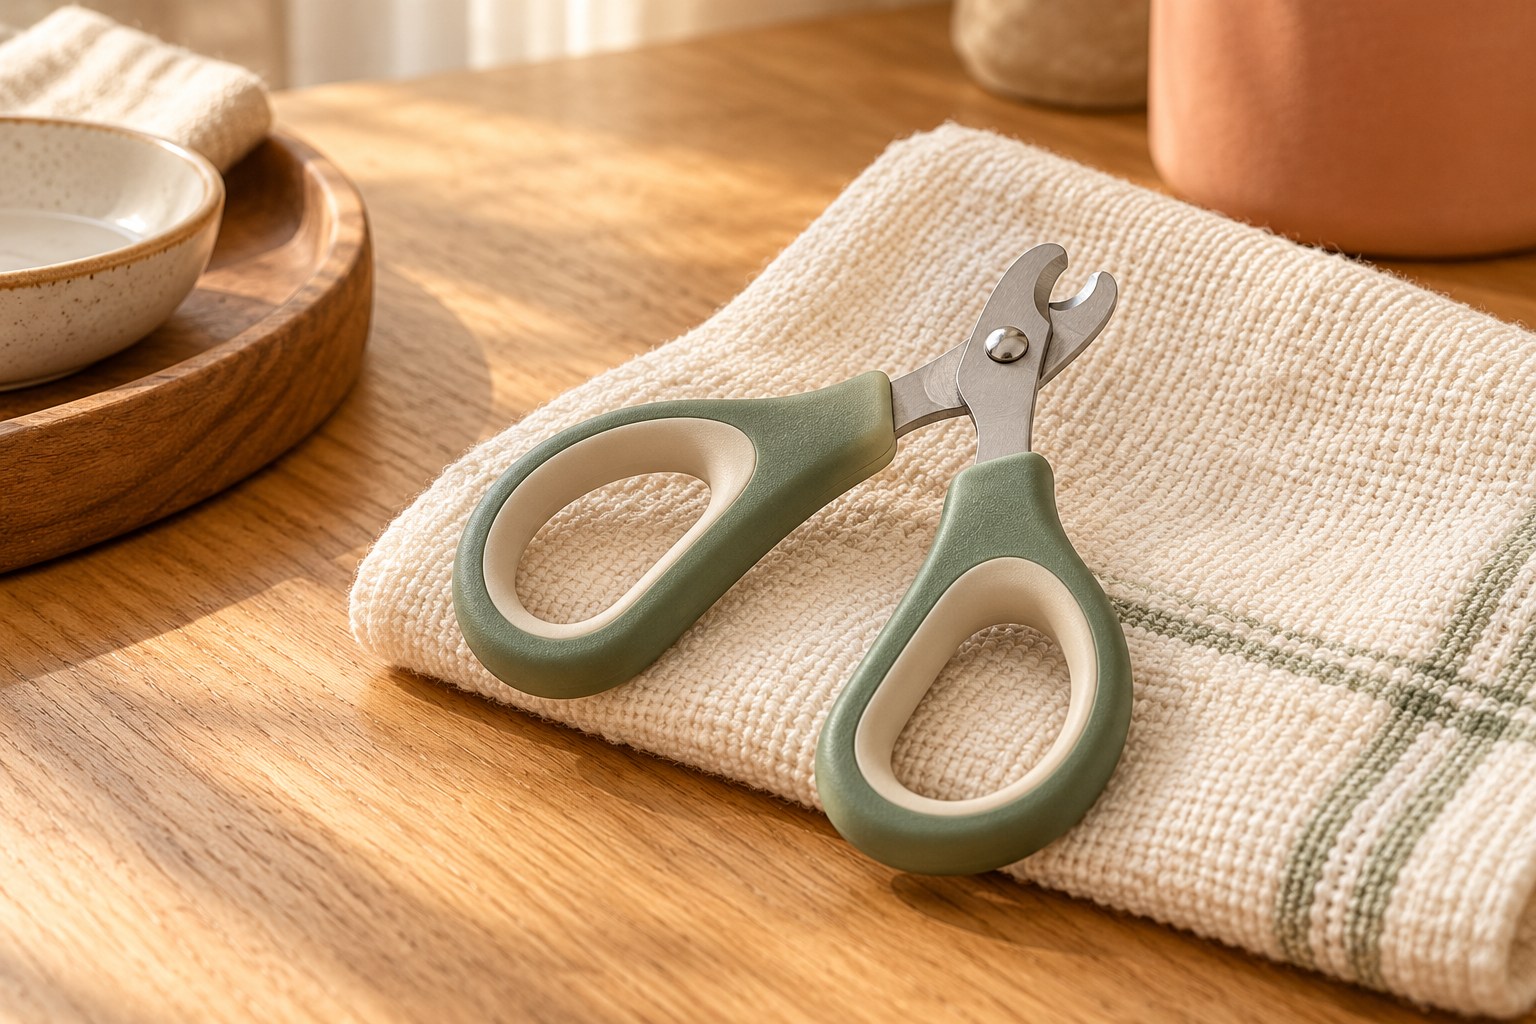
Finding a clipper under a pile of loose accessories is a poor start to a nail-care session. Storage can make equipment easier to inspect, reduce rushed searching, and keep sharp parts away from pets. The goal is a small deliberate system rather than a large grooming case filled with items whose purpose has been forgotten.
Separate ready tools from used tools
Choose a dry compartment for clean equipment and a temporary place for items waiting to be cleaned. That distinction can be as simple as two labeled trays, provided both are out of pet access. Do not return a damp clipper to a fitted case merely because the surface feels almost dry. Follow the cleaning and drying instructions before closing it away.
Sharp working parts need protection according to their design. Use a supplied cap or storage lock where available, and check that it works without forcing the mechanism. A loose cloth wrap can hide the blade and make retrieval less predictable. Keep grinders and replacement abrasive parts in a way that prevents accidental activation and follows the maker's battery-storage guidance.
Keep instructions with the actual model
A printed quick-reference sheet or saved digital manual should identify the exact tool. Similar clippers may have different blade replacement or locking methods. Record part numbers for replaceable heads, guards, or blades rather than ordering by appearance later. Remove obsolete parts when the equipment changes so a visually similar component does not find its way onto the wrong device.
Individual trimming guidance is different from a product manual. The manual explains the equipment; a veterinarian or qualified groomer can teach an appropriate routine for the pet. Keep any relevant professional guidance available to the person doing the task. Storage should make it easier to pause and check information instead of encouraging a hurried attempt because everything is already laid out.
Arrange a pre-use inspection
Place tools so working ends can be seen without reaching across an exposed blade. Before use, check alignment, rough damage, loose fasteners, and the movement of any spring or mechanism. For powered equipment, inspect the abrasive head, housing, cable, and charging setup. A designated compartment makes changes easier to notice than a bag where every item moves into a different position after each use.
Inspect after drops as well as before sessions. A handle may look unchanged while the cutting head has shifted. If a tool no longer operates smoothly, take it out of the ready compartment and label it for assessment or replacement. Do not leave defective equipment alongside usable items where another household member may assume it is suitable.
Keep the session area simple
Bring only the tools needed for the instructed routine to the working area. Leave spare blades, chargers, and unrelated accessories stored away. Fewer objects reduce clutter around the pet and make it easier to put the tool down safely if the animal moves away. A washable stable surface can be prepared first, without using the storage case itself as a platform.
When more than one person handles nail care, agree on the same reset routine: clean, dry, inspect, protect, and return. Make clear when a tool has been retired or replaced. A tidy kit does not require continuing a difficult session; stopping when the pet is distressed or the person is uncertain remains appropriate. Organization should create space for calm decisions rather than pressure to finish.

For our approach to product claims and illustrations, see the Editorial Policy.