A ramp is a bridge between two surfaces, so its usefulness depends on both ends. A product can have an impressive load rating and still be too steep, too narrow, or awkward to position at a particular vehicle. Start with measurements taken where the ramp will actually be used, then evaluate the pet's needs and the handler's ability to deploy it.
Measure the real rise
Measure from the supporting ground to the surface where the ramp's upper contact is intended to rest. Do not use the vehicle's advertised ground clearance or the top of an unrelated bumper panel. Different parking surfaces change the rise and the contact angle. If the vehicle sits on a slope, the ramp may behave differently from the same setup on a level driveway.
Check the maker's permitted attachment location before deciding that any flat-looking edge will work. Decorative trim, a rounded bumper, or a hatch seal may not support the intended contact. The upper lip needs enough stable engagement according to the instructions. If the vehicle does not offer a compatible location, choose another access arrangement rather than relying on friction against an unsuitable surface.
Understand the geometry without overpromising comfort
For a straight ramp, the rise and usable ramp length together determine the angle. A longer ramp usually reduces the angle for the same rise, but it also needs more ground space. As a purely geometric example, a sixty-centimeter rise with a one-hundred-eighty-centimeter ramp gives an angle of roughly nineteen and a half degrees when measured along the ramp. That is not a universal recommendation for any animal.
The appropriate arrangement depends on the individual pet and should be discussed with a veterinarian when mobility or pain is involved. A lower angle may still be unsuitable if the surface is unstable or the animal cannot use it comfortably. Do not turn a mathematical example into a medical threshold. Compare the product's instructions, the actual layout, and the pet's demonstrated ability under suitable guidance.
Compare the same ramp at two heights
A single portable ramp can behave differently when moved between household vehicles. Using a one-hundred-eighty-centimeter straight ramp at a sixty-centimeter rise gives a horizontal ground reach of about one hundred seventy centimeters. At an eighty-centimeter rise, its horizontal reach becomes about one hundred sixty-one centimeters and the angle increases to roughly twenty-six degrees. These approximate geometric values assume the full stated length is usable between the contacts. Real overlap lips and joint geometry can change the effective span.
That example explains why a ramp selected for a lower vehicle should be reassessed before use with a taller one. The stored product has not changed, but the incline, upper contact, and animal movement have. Measure each setup independently and check the manufacturer's permitted range. Do not try to reduce a steep angle by resting the lower feet on a loose box or stacked objects. An unstable improvised platform adds a separate failure point rather than creating a sound longer ramp.
Reserve the landing area
The lower end needs firm support and clear space for the animal to line up before stepping onto the ramp. A narrow parking bay may not provide enough room for a long ramp, even if it fits inside the vehicle when packed. Include the handler's standing position and the route around the open door or hatch. Avoid setups that require deploying into traffic.
The top also needs a usable destination. If the ramp ends at a high lip followed by an immediate turn around luggage, the transition may be awkward. Keep the landing area clear and prevent a loose mat from covering the ramp contact. The ramp should lead into an appropriate space rather than merely touch the vehicle. Plan the full movement from ground to destination.
Compare width and side details
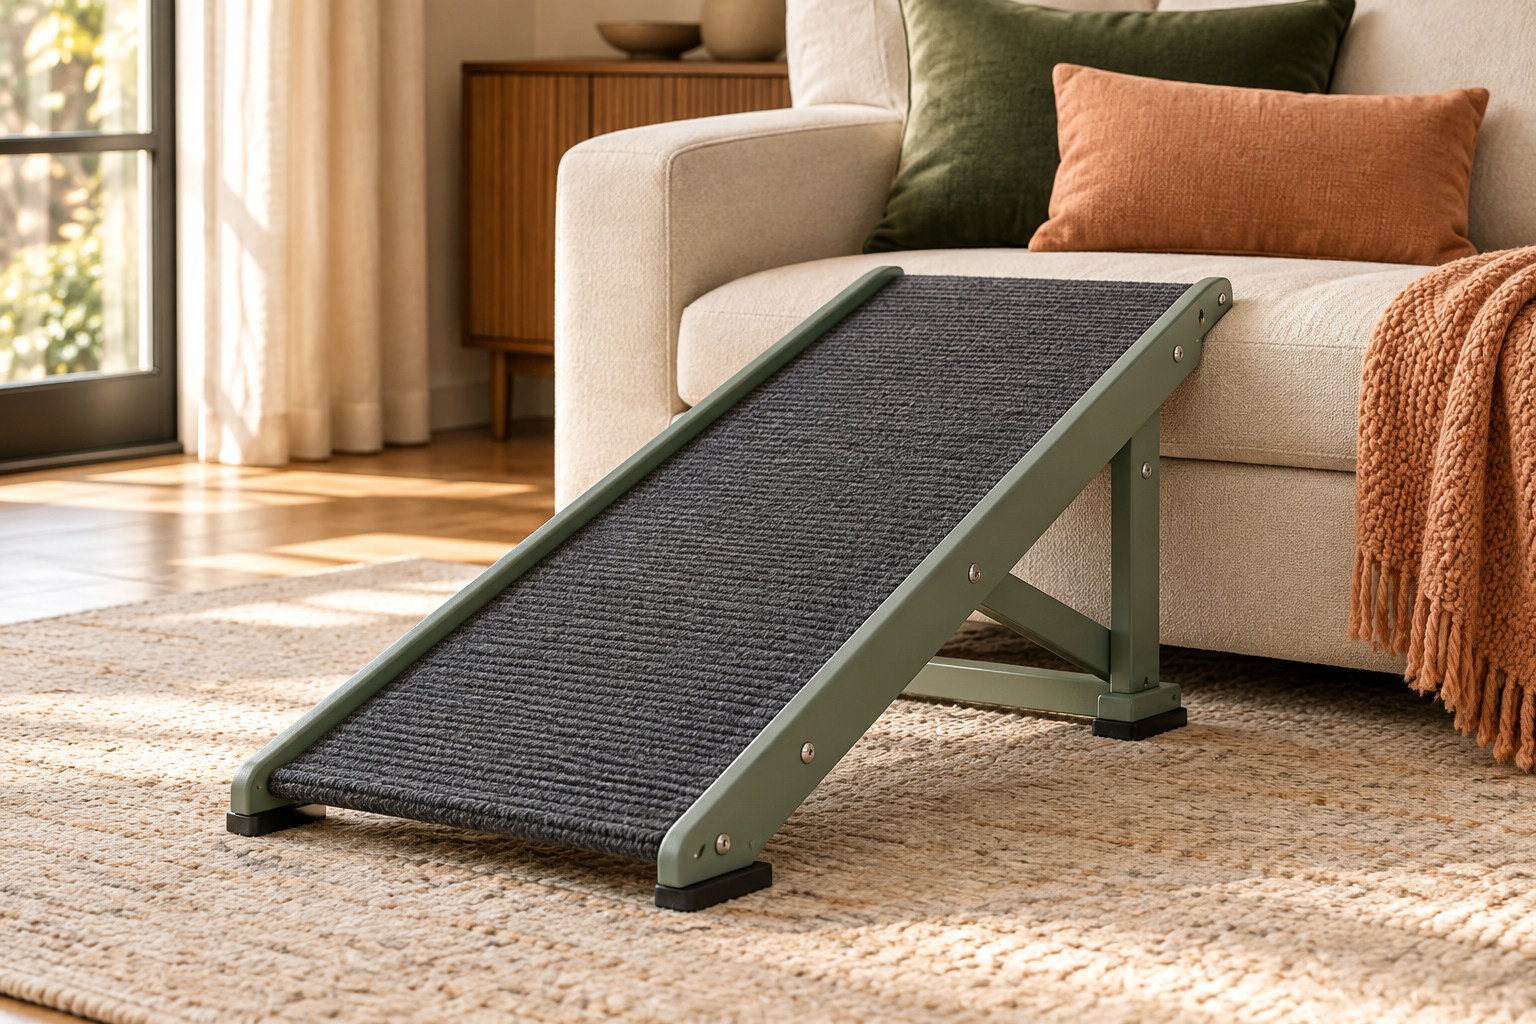
Usable walking width can be narrower than the advertised frame width because of raised rails. Measure between those boundaries and compare with the pet's normal stance and movement. A very narrow surface may require more precision than the animal can provide. Raised edges can offer a visual boundary, but they should not be treated as barriers that guarantee prevention of a fall.
Check whether the surface remains continuous across folding joints or telescoping overlaps. Small transitions can affect how the pet places its paws. Look for exposed fasteners, rough edges, and openings that need inspection. A broad stable surface with sound contact at both ends may be more useful than a compact product whose narrowness is disguised by a wide outer frame.
Rehearse deployment separately from use
Follow the instructions to unfold or extend the empty ramp, secure all required locks, and check its contact. Keep the pet away from moving joints during setup. Consider whether one person can lift and position it without losing balance or striking the vehicle. A heavy long ramp may offer a favorable slope yet be impractical for the handler who will use it regularly.
Introduce the surface gradually in an appropriate controlled plan, and do not force the animal to cross. If the pet is uncomfortable, reassess surface texture, slope, location, and individual needs with suitable professional guidance. A ramp should be inspected before every use and removed when not being supervised. Keep its storage location secure so it cannot shift among occupants during travel.

For our approach to product claims and illustrations, see the Editorial Policy.