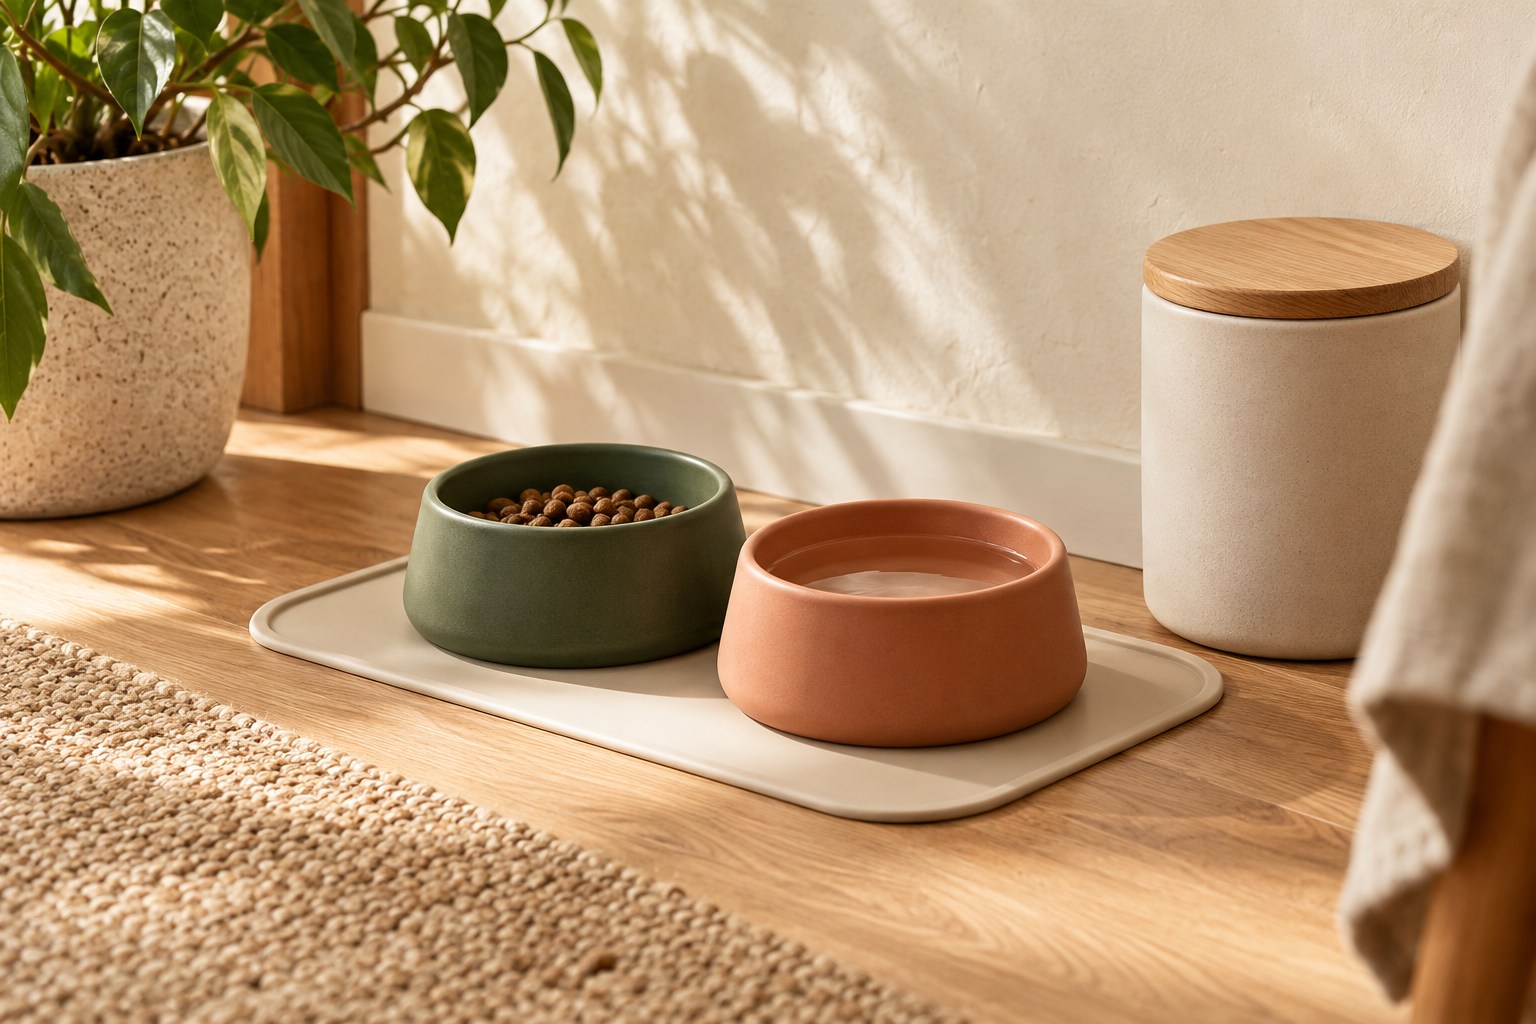
Suction cups can keep a feeding mat from moving across a suitable surface, but they introduce another set of recesses to clean. Food may remain on the front while water collects between cups on the back. A useful maintenance routine therefore includes both faces and the place where the mat attaches.
Read the product's supported uses before selecting a location. Some mats are designed for flat surfaces only; others specify suitable vertical mounting. The presence of suction cups does not establish that every placement or surface is appropriate.
Start with the correct surface
Suction relies on the cup meeting the surface properly. Texture, seams, debris, and curvature can interfere with that contact. Check the maker's stated surface requirements and test the mat without food so you can see whether it lies flat and releases predictably.
A tile wall with grout lines may provide only a few uninterrupted attachment areas. A broad cup straddling a line may not hold as intended. Do not compensate by adding glue or tape to a feeding product; choose a compatible location or a different format.
Inspect cups individually
Turn the empty mat over and check the cup rims for tears, distortion, or trapped material. A large mat can appear attached even when only a few cups are holding. Press or secure it only in the manner the instructions describe, then verify the full attachment while you are present.
If the pet pulls at an edge, remove the mat and reassess the setup. Greater suction does not turn a chewable flexible sheet into an appropriate unsupervised toy. Keep sessions observed and stop use when the animal begins damaging or swallowing parts.
Release rather than stretch
Use release tabs or the specified lifting method to break the suction seal. Pulling repeatedly on the feeding surface can distort the product or make the eventual release abrupt. Support the mat so food or water does not drop onto the floor when the last cup lets go.
For a hypothetical mat fitted to a kitchen splashback, first clear the counter beneath it and hold the lower edge. Release one area at a time if the instructions allow. A controlled removal is easier to manage than a sudden tug that sends the mat folding toward you.
Clean the hidden side
Wash the front texture, the backing between cups, and each cup's recess according to the care instructions. A soft brush may help where permitted. Inspect the result in good light rather than assuming that a dishwasher cycle reached every sheltered area.
Clean and dry the attachment surface too. Moisture held beneath a mat can be easy to overlook when it remains in place between sessions. Removing the product after use creates a natural opportunity to inspect the wall, tray, or floor beneath it.
Store without crushing the cups
Dry the mat fully and use a storage position that does not flatten or sharply fold the cups beyond the manufacturer's guidance. A drawer crowded with heavy bowls can distort a flexible product even when its visible feeding surface remains intact.
Keep small detachable parts together if the design includes them. Replace a mat that is torn, has persistent inaccessible residue, or no longer holds correctly on its supported surface. Buying a plainer replacement may reduce both cleaning effort and the number of fragile details.
For our approach to product claims and illustrations, see the Editorial Policy.